


Description
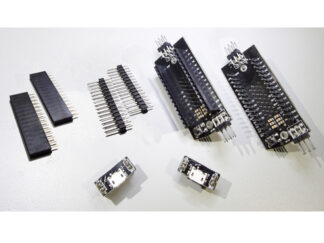
This is a combination deal, four SyncLights and a pattern change board.
Available options:
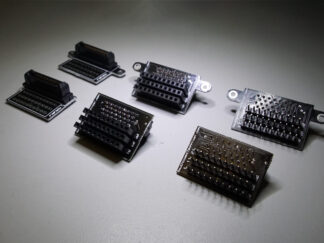
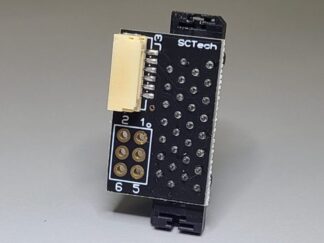
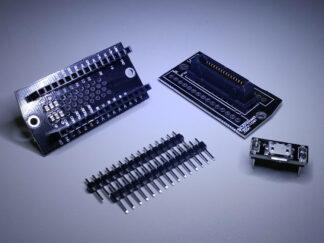
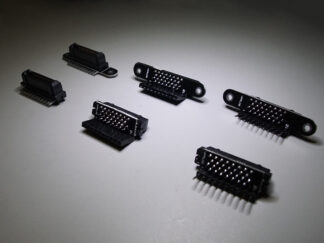
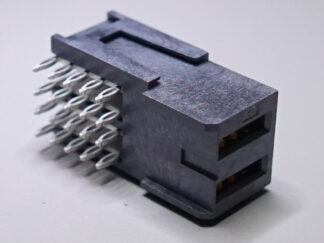
- Pattern Change Board:
- None
- Basic – Allows up to four SyncLights to be powered and synchronized.
- Advanced – Allows up to eight SyncLights to be powered and synchronized, or two banks of four to be synchronized. A jumper (provided) is used to ‘chain’ the two banks together if you wish to synchronize all eight. Note: The pattern-change button will only affect the four SyncLights closest to the button if the jumper is removed.
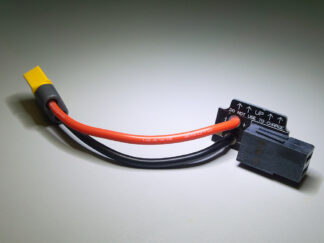
- Power Connector for Pattern Change Board:
- None – Solder your own wires to the pattern change board to provide power
- Flying Leads – 6in of 18AWG silicone wire soldered to the power input
- XT-60 Connector – 6in of 18AWG wire soldered to the power input with a male XT-60 connector soldered at the end.
- Heatsinks:
- None
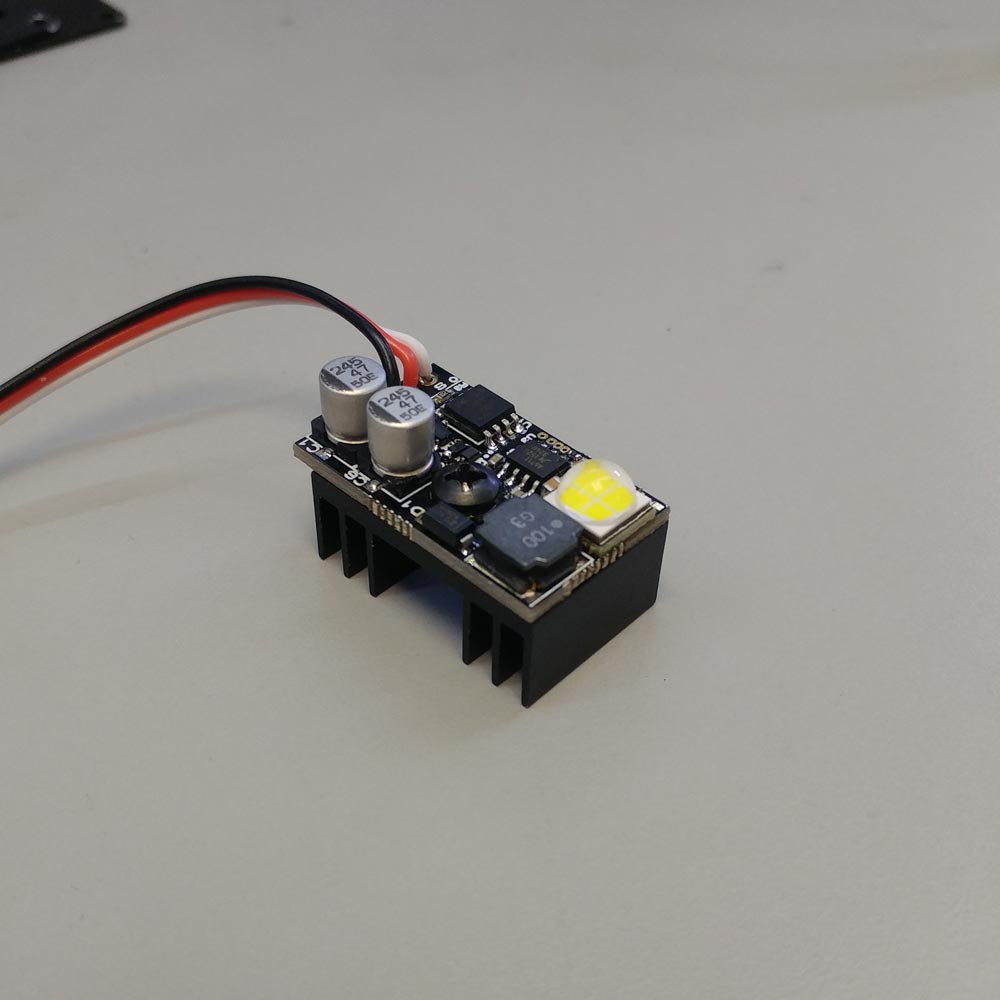
- Included – Four heatsink kits, for a DIY install (note that you’ll have to remove the heatshrink around the SyncLight to install the heatsink).
- Installed – Four heatsinks from our heatsink kit, pre-installed.
As with all SyncLights, you are free to mix and match different light patterns to create a unique combination which works best for you, however, we recommend the following modes to achieve a dead-simple setup:
1 SyncLight with the Master Strobe pattern, affixed to the front of vehicle
1 SyncLight with the Follow Strobe pattern, affixed to the rear of vehicle
2 SyncLights with the Offset Strobe pattern, affixed to the top & bottom of vehicle
See our product page for more information.
Important considerations:
Power:
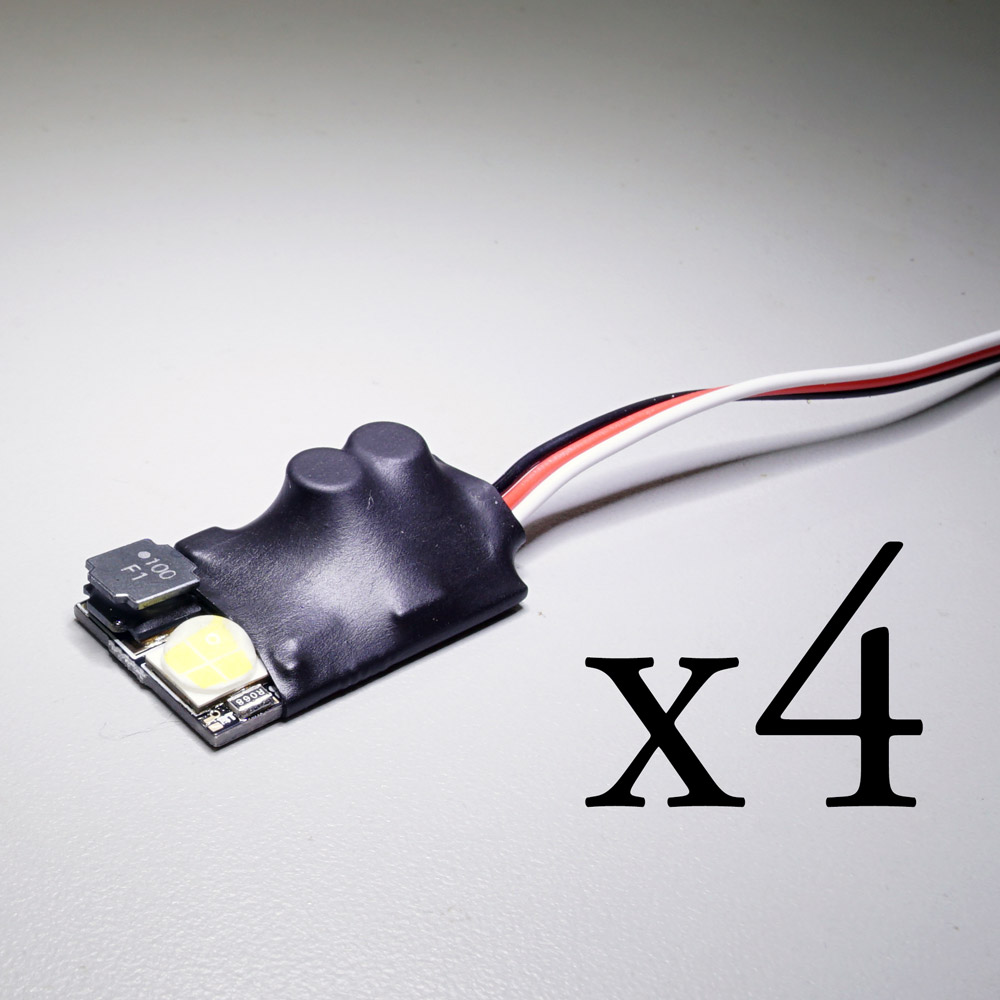
The boards are designed to accept an input voltage anywhere between 10-42V (3S to 10S). While the input connector is a standard ‘servo’ style, it will not work on standard servo voltages. The pinout is the same: Black for ground, Red for 10-42V, and White for the signal bus. Take care not to plug the SyncLight into your system incorrectly: while there are protections built-in to mitigate most mis-wirings, the protections cannot prevent damage for reverse voltage, and the SyncLight will be permanently damaged.
Do not hot-plug one SyncLight into an already-powered SyncLight group. The voltage fluctuations caused may trigger a ‘pattern change’ event on the already-powered SyncLights, and lead to undesirable operation. Make sure the system is powered off before adding an additional SyncLight to the bus.
The LED is driven at 6-6.2V at 3A, so a nominal 18W draw is expected when the LED is on fully. When the LED is PWMed, the apparent current draw is reduced. A table is provided with amperage measurements taken at 16V (4S):
| LED Mode | Amperage@16.8V (One SyncLight) |
| Always-on Low | 0.15A |
| Always-on Medium | 0.28A |
| Half-on, High | 0.53A (When ‘On’) |
| Strobe | 1.2A (Momentary) |
Heat:
The SyncLight will get warm/hot to the touch if you use any mode other than “Master Strobe”, “Follow Strobe”, or “Offset Strobe” with no airflow, no heatsink, and no other form of cooling. The SyncLights will not damage themselves, but ensure your mounting method can withstand the heat if you choose one of these modes.
For example, if used in a room-temperature environment with zero airflow, a SyncLight running the “Always-on, Low” pattern (with or without strobes) will stabilize around 70°C without a heatsink, or 50°C with a heatsink.
A SyncLight on the “Half-on” or “Always-on, Medium” modes will stabilize around 110°C without a heatsink, and 60°C with a heatsink (again, if used in a room-temperature environment with zero airflow).
Adding airflow (such as from the propellers of your drone) will reduce these temperatures radically.
Mounting:
Mounting methods include (but are not limited to):
- Hot glue – If using the “Master”, “Follow”, or “Offset” strobe patterns, the SyncLight will stay cool enough to allow it to be mounted using hot glue without it melting. We cannot guarantee that a SyncLight running any other mode will not melt hot glue if you choose to use it as a mounting method.
- Machine screw – If a more robust mounting method is desired, removal of the heat shrink around the SyncLight will reveal a center hole which accommodates a screw size of #6-32.
- Mushroom Hook Velcro
- Zip Ties – If you’re mounting this to an arm of a drone, a simple zip tie around the center of the SyncLight will suffice.
See our product page for more information.
***Disclaimer***
This product flashes brightly and rapidly, please do not look directly at the light at close ranges. In no event shall our company be liable for any direct, indirect, punitive, incidental, special consequential damages, to property or life, whatsoever arising out of or connected with the use or misuse of our products.
Reviews
There are no reviews yet.