


Description
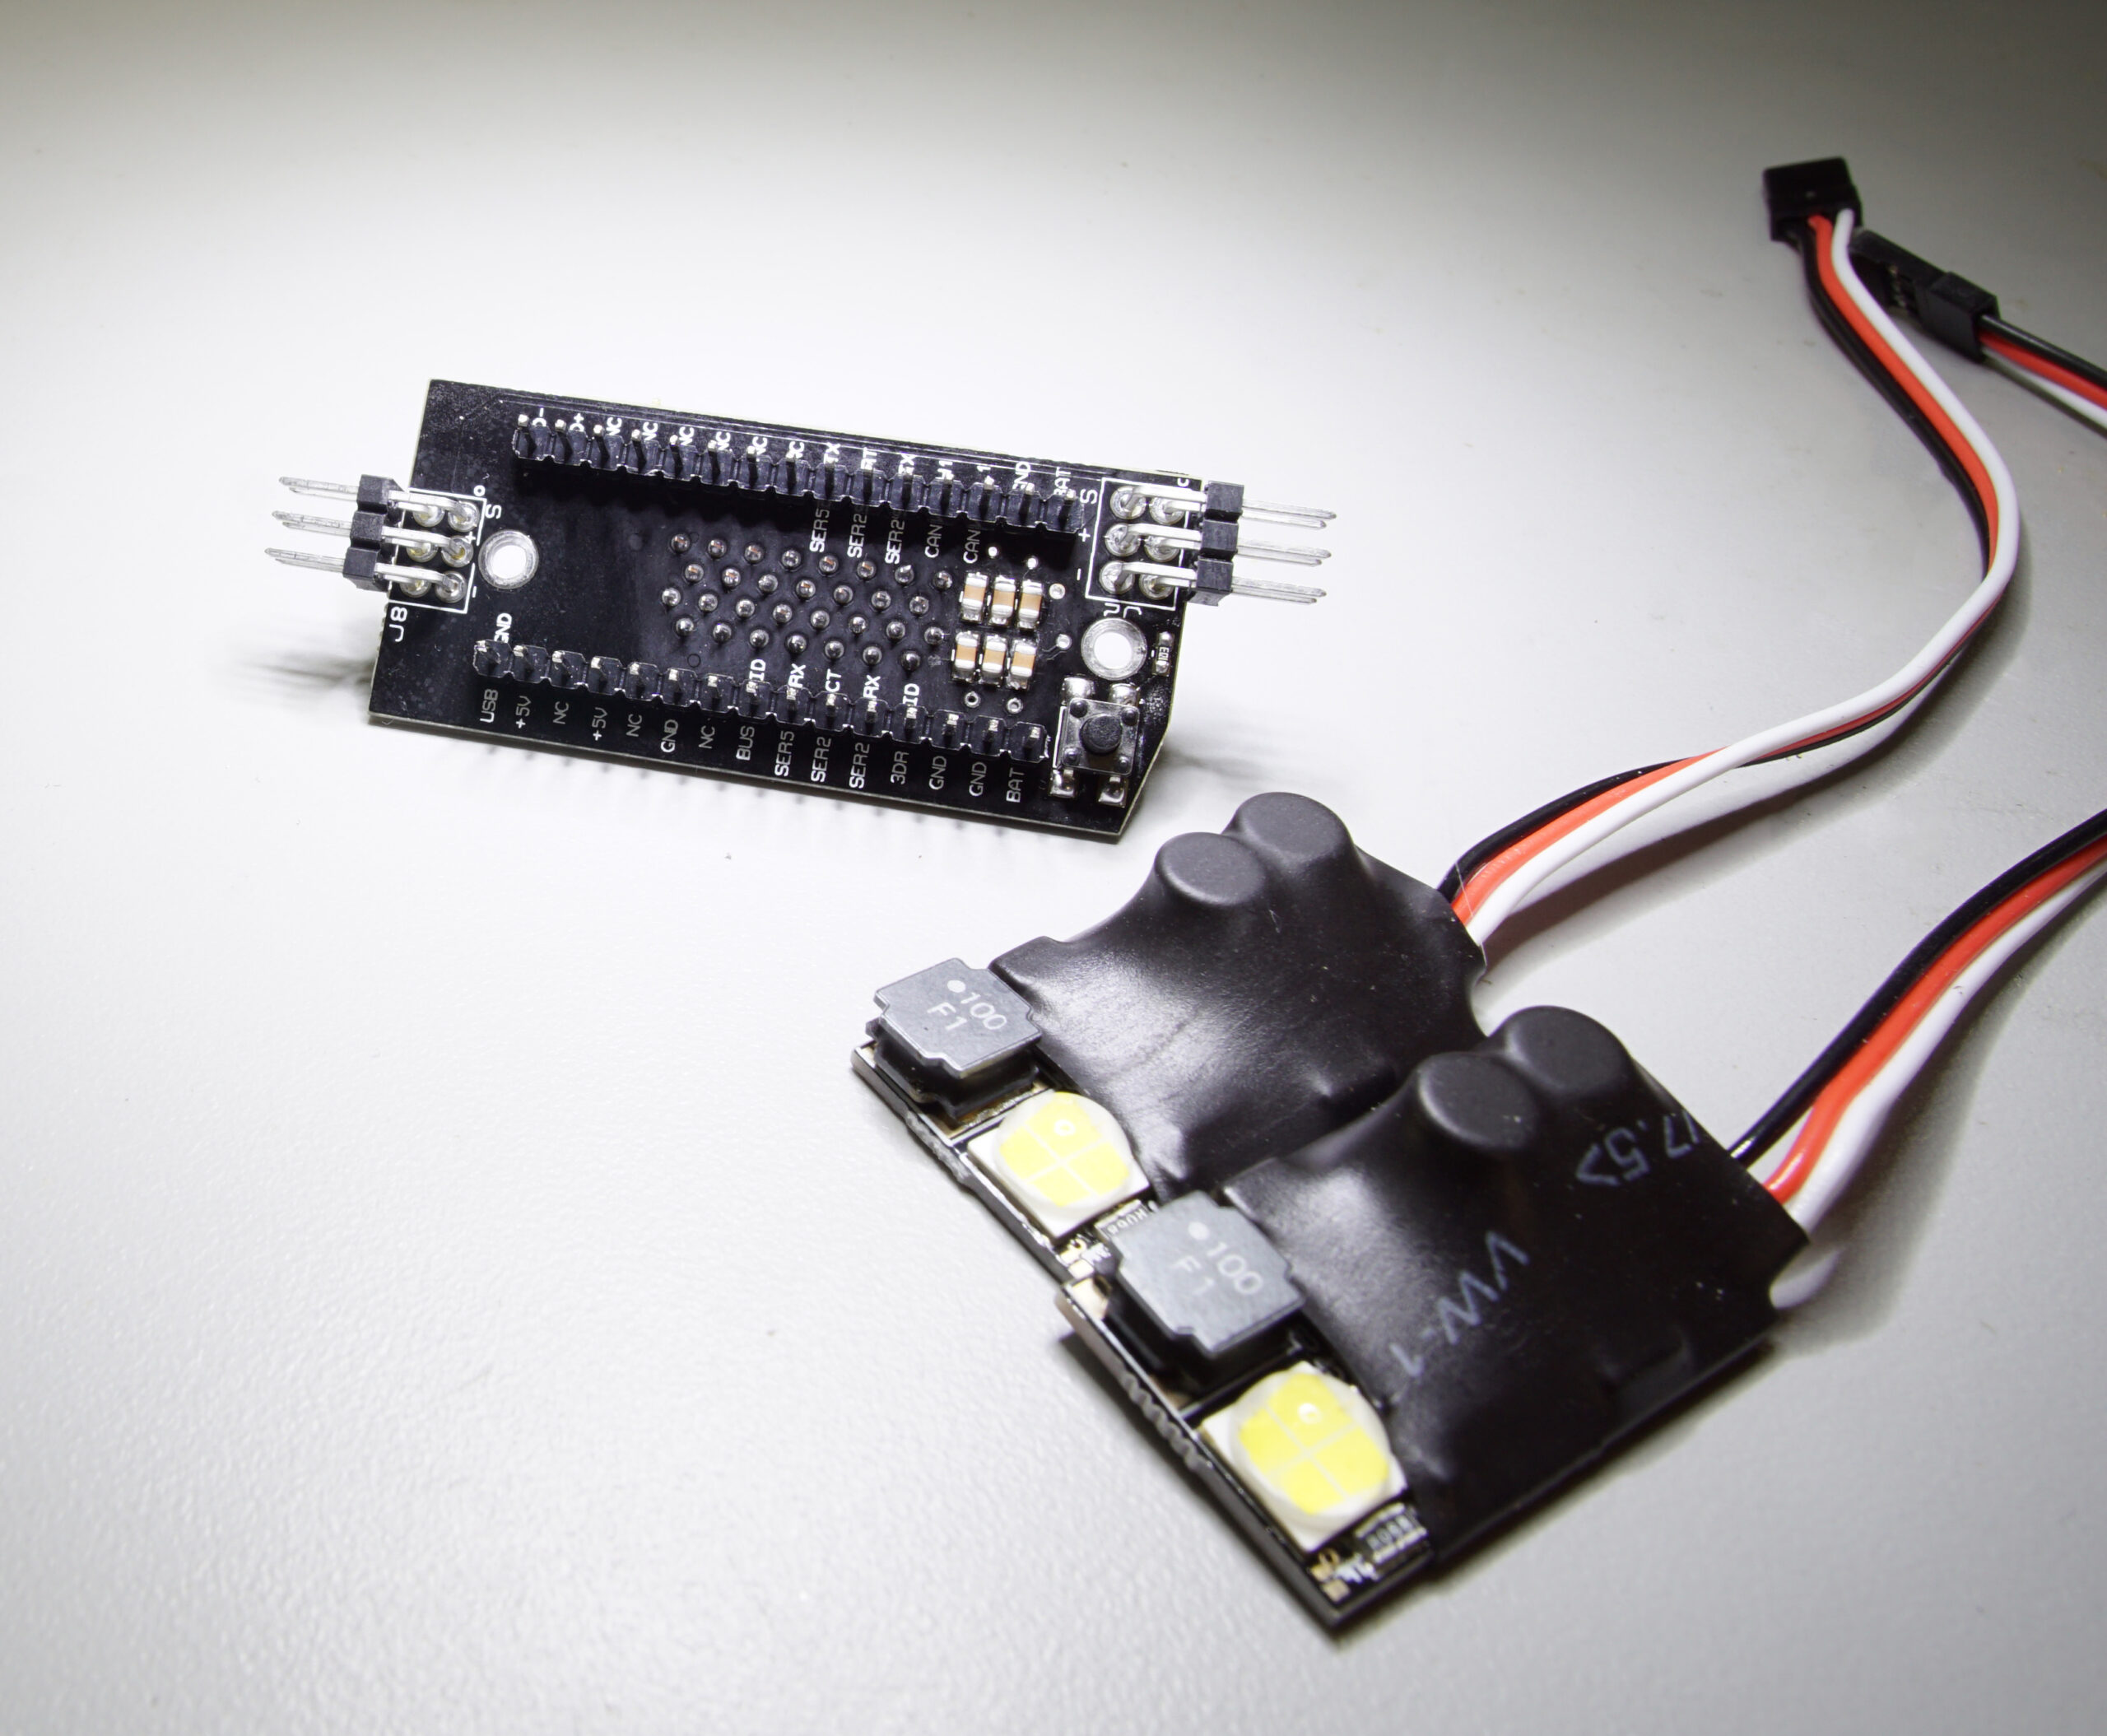
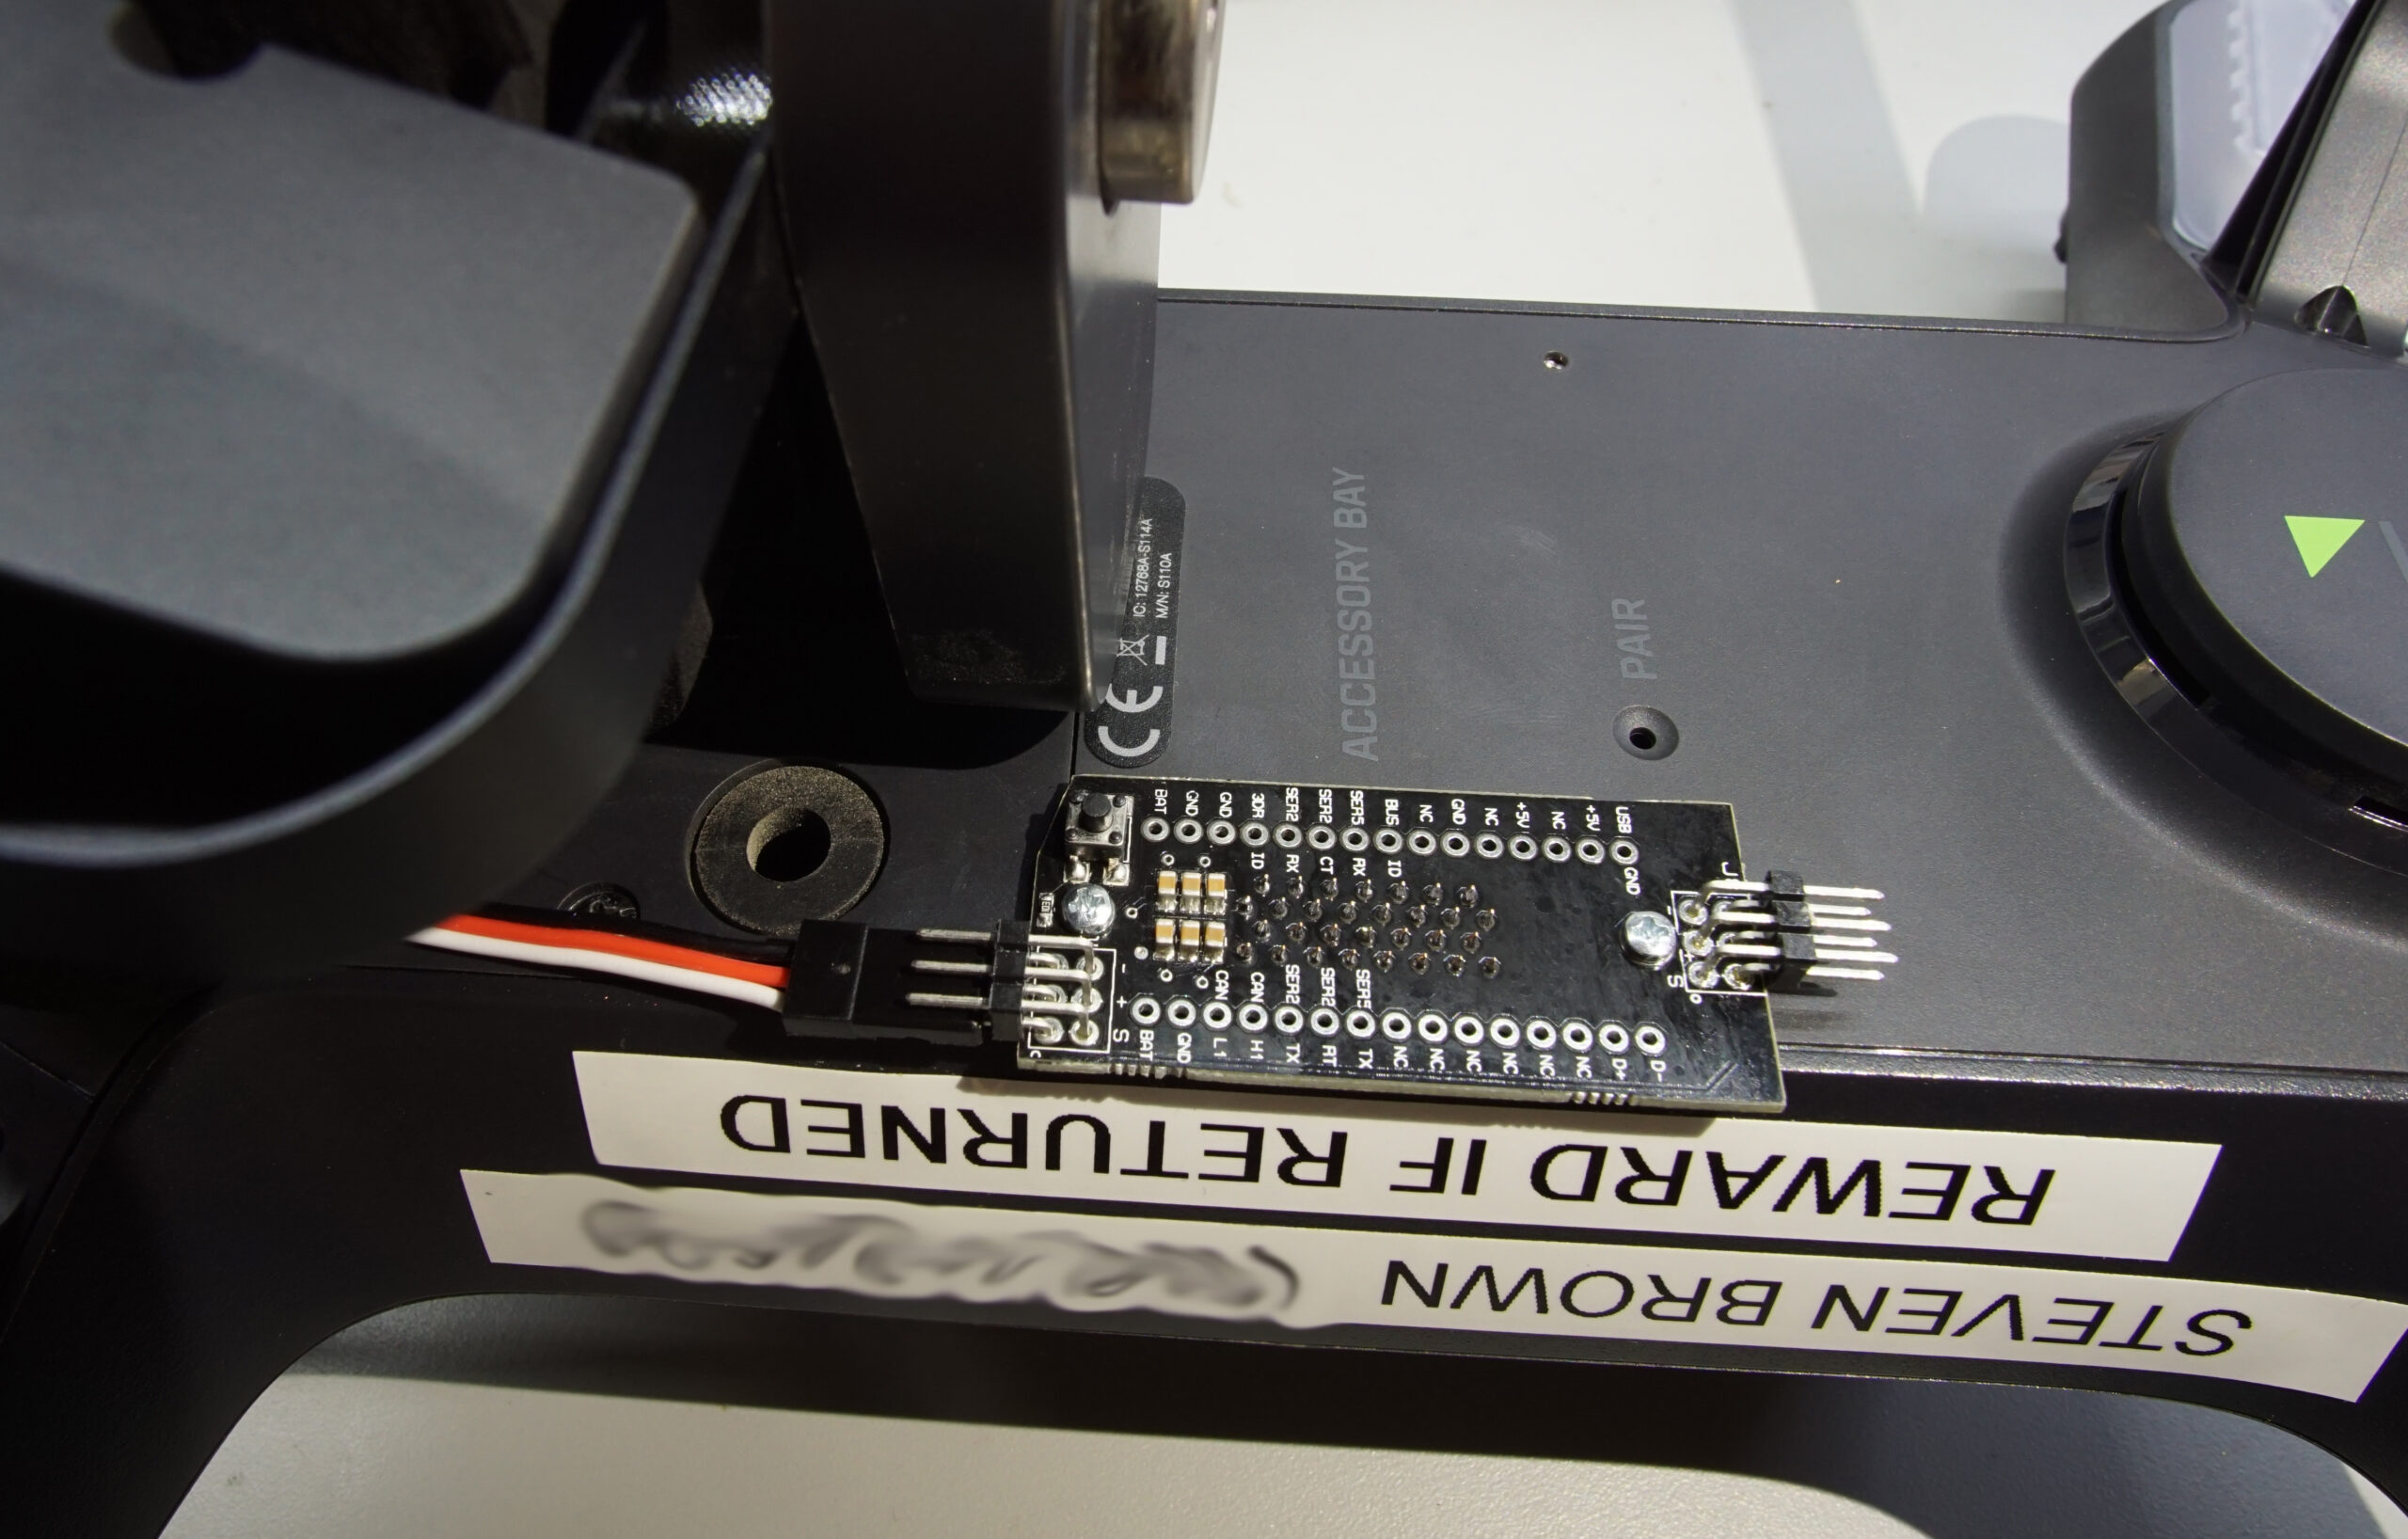
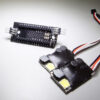
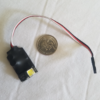
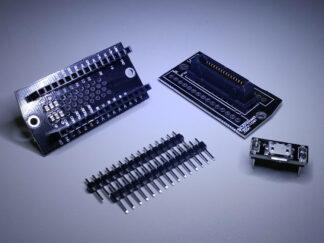
This kit, designed for the 3DR Solo, contains 2 SyncLights, and the breakout board necessary to power the boards. The breakout board leverages the 3DR Solo’s accessory port and mounting holes for easy integration with the Solo. See our product post for more information on the SyncLight, and the store page for more information about the breakout board.
Mounting screws for the breakout board are included. These screws should be hand-tight only (5 ft-lbs max). It is recommended to apply a small amount of medium strength threadlocker, such as Loctite 242, to the screw prior to installation.
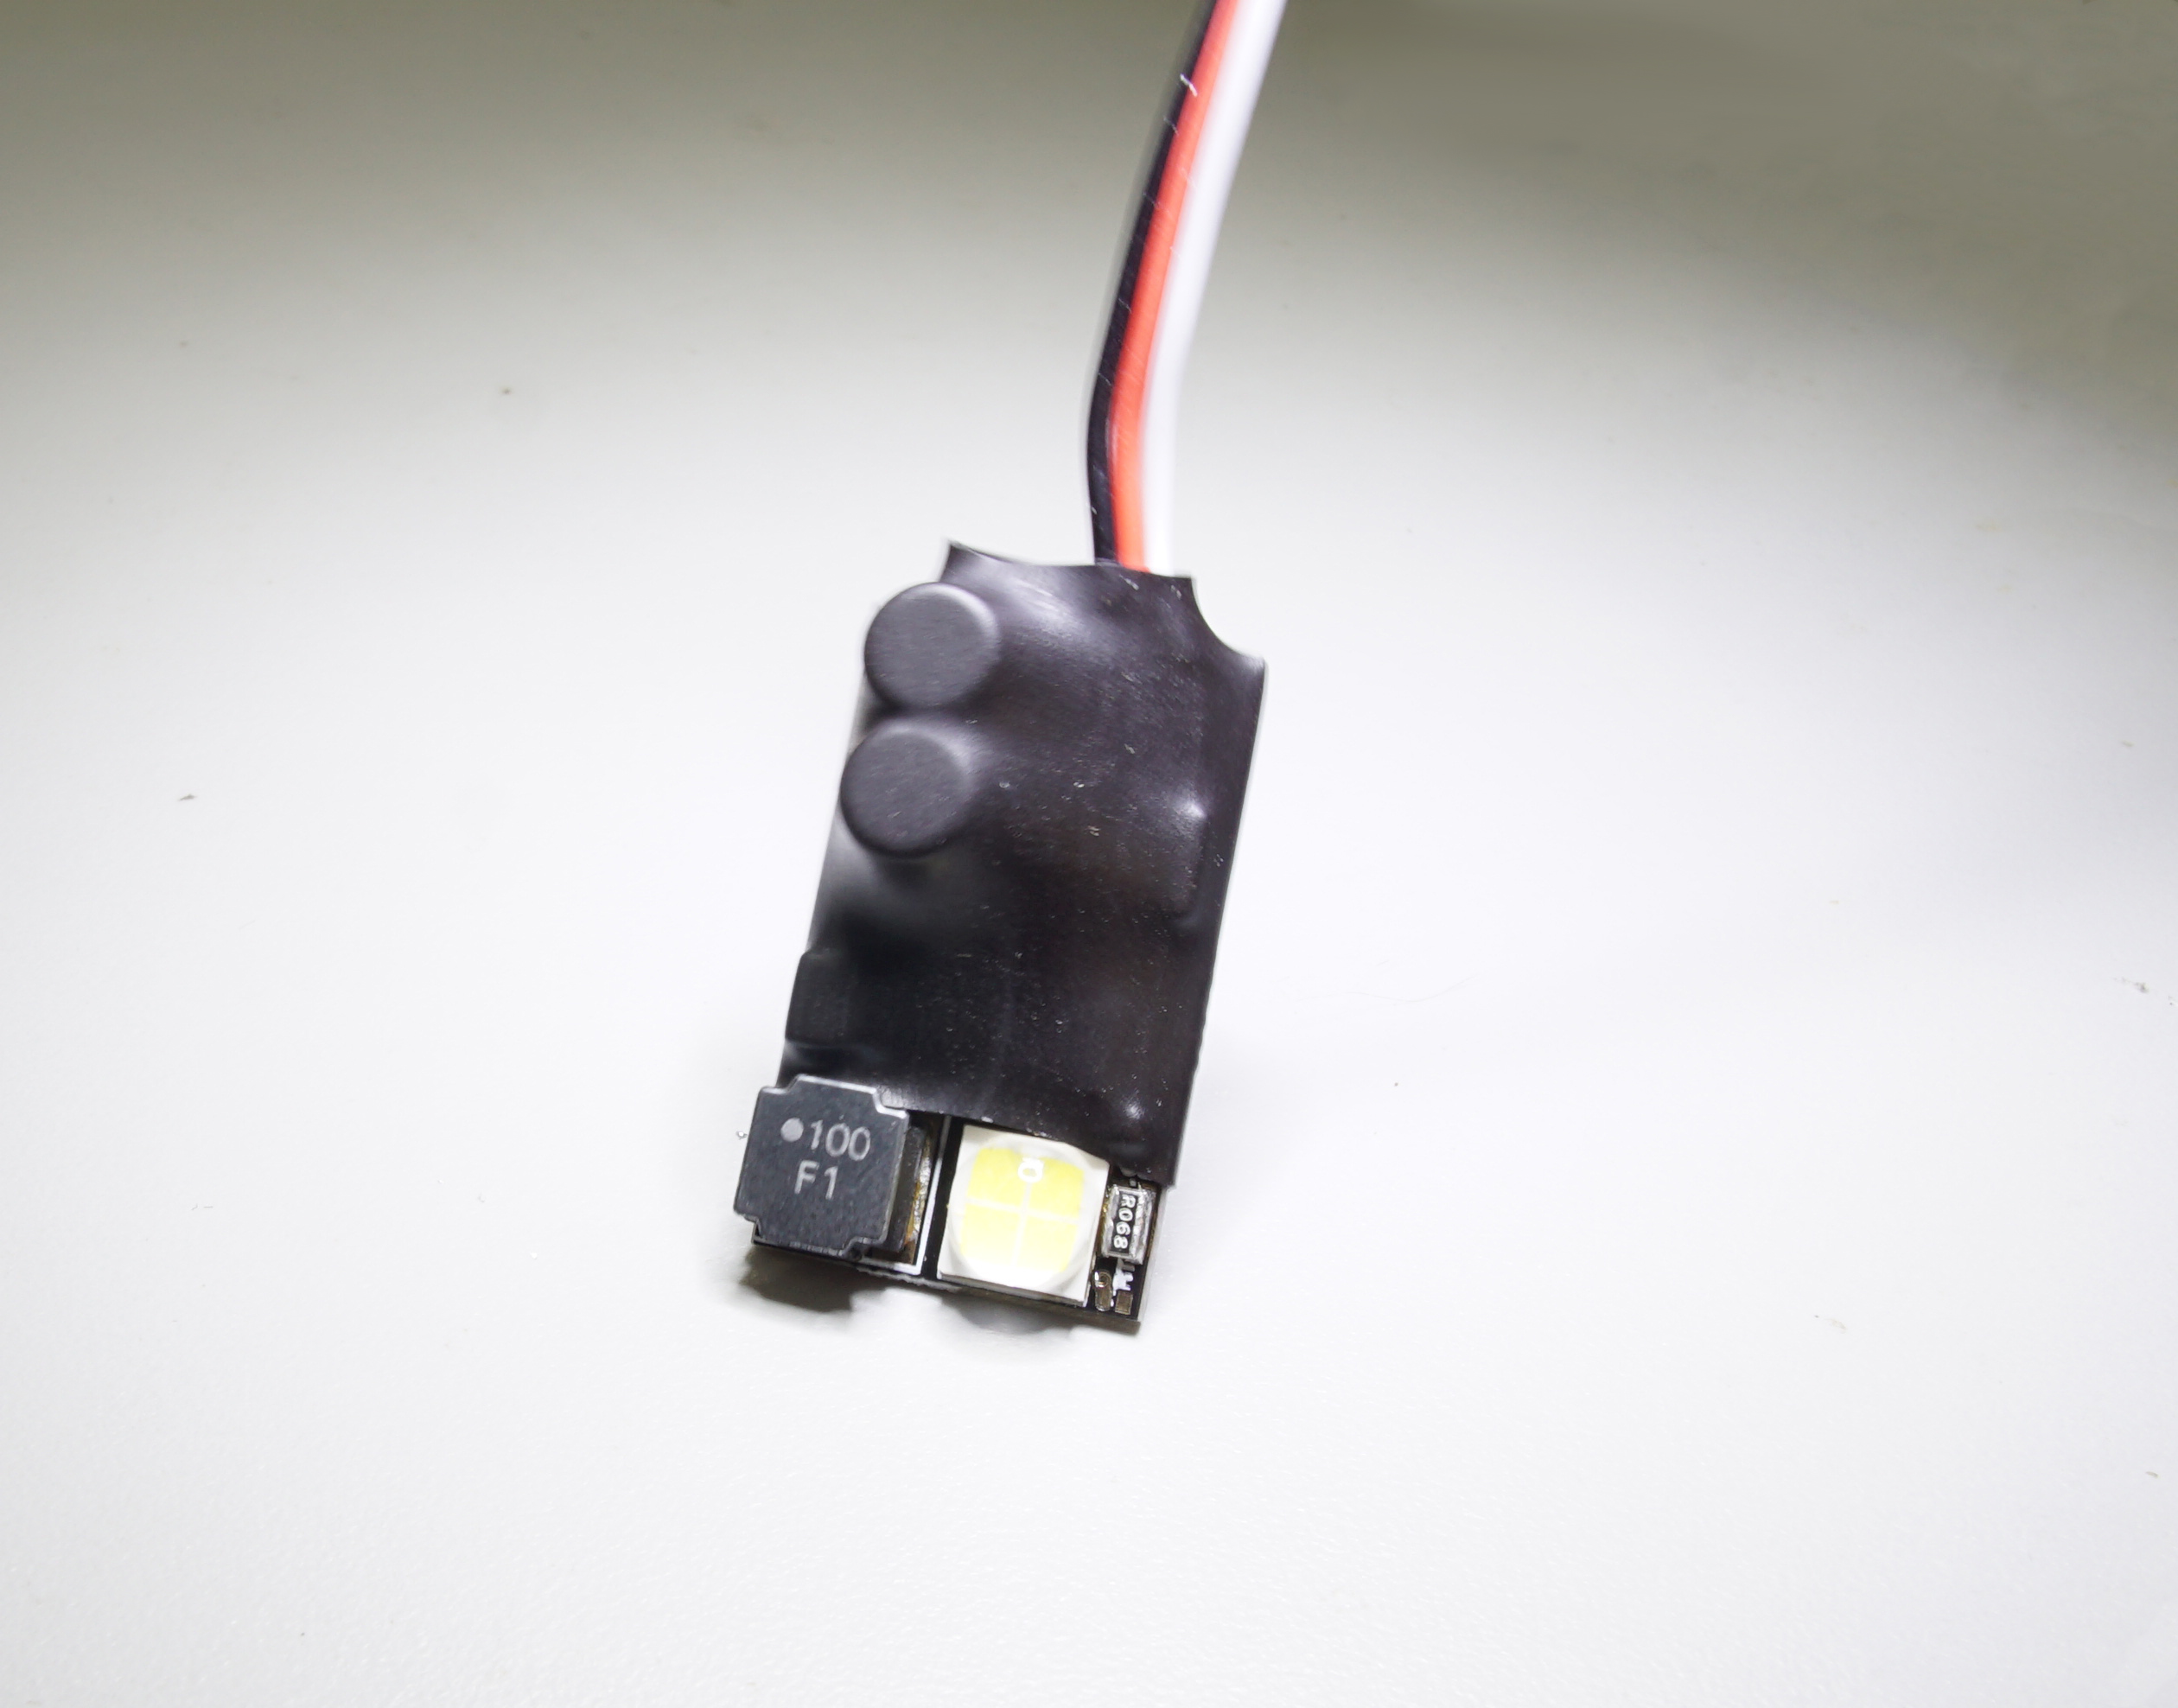
These high-power LED boards are lightweight and tiny, a perfect fit for RC planes and quadcopters for extreme visibility during dusk/nighttime flights. We’ve tested visibility out to 5 miles in darkness, and they can be spotted very easily from that distance.
For FAA-compliant anti-collision lights, we recommend you mount the two boards on the front and back of Solo, on the upward-angled faces. The leads are the perfect length for this position, so there isn’t any excessive slack in the wires. Take care to mount the front board such that it doesn’t interfere with the Solo backpack foam, and the back board such that it doesn’t interfere with the Solo battery installation/removal. Note that even though the boards are mounted angled-upwards, so long as the Solo isn’t directly overhead, or line-of-sight isn’t blocked by an arm on the Solo, the Synclights are still very visible from people on the ground. Our 5-mile visibility test was done using a SyncLight on the front, upward-angled face.
For optimal orientation/visibility reasons for the operator, we suggest mounting the SyncLights facing downward, on the front/back downward-angled faces. This will ensure that if the Solo is directly overhead, the lights will still be visible to the operator.
If both anti-collision and maximum operator visibility are required, we recommend mounting one board on the front, facing upwards, and one on the belly of the Solo. The beauty of this kit is that you get two SyncLights, and you can mount them wherever you like to fit your usage. If necessary, check out the SyncLight UltraKit, which gives you even more flexibility and coverage by providing you with four SyncLights.
See our product page for more information.
Important considerations:
Power:
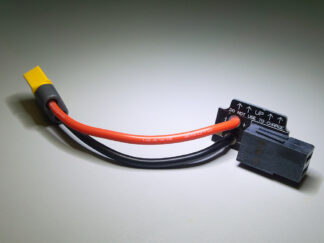
The boards are designed to accept an input voltage anywhere between 10-42V (3S to 10S). While the input connector is a standard ‘servo’ style, it will not work on standard servo voltages. The pinout is the same: Black for ground, Red for 10-42V, and White for the signal bus. Take care not to plug the SyncLight into your system incorrectly: while there are protections built-in to mitigate most mis-wirings, the protections cannot prevent damage for reverse voltage, and the SyncLight will be permanently damaged.
Do not hot-plug one SyncLight into an already-powered SyncLight group. The voltage fluctuations caused may trigger a ‘pattern change’ event on the already-powered SyncLights, and lead to undesirable operation. Make sure the system is powered off before adding an additional SyncLight to the bus.
The LED is driven at 6-6.2V at 3A, so a nominal 18W draw is expected when the LED is on fully. When the LED is PWMed, the apparent current draw is reduced. A table is provided with amperage measurements taken at 16V (4S):
| LED Mode | Amperage@16.8V (One SyncLight) |
| Always-on Low | 0.15A |
| Always-on Medium | 0.28A |
| Half-on, High | 0.53A (When ‘On’) |
| Strobe | 1.2A (Momentary) |
Heat:
The board will get warm/hot to the touch if you use any mode other than “Master Strobe”, “Follow Strobe”, or “Offset Strobe” with no airflow, no heatsink, and no other form of cooling. The boards will not damage themselves, but ensure your mounting method can withstand the heat if you choose one of these modes.
For example, if used in a room-temperature environment with zero airflow, a SyncLight running the “Always-on, Low” pattern (with or without strobes) will stabilize around 70°C without a heatsink, or 50°C with a heatsink.
A SyncLight on the “Half-on” or “Always-on, Medium” modes will stabilize around 110°C without a heatsink, and 60°C with a heatsink (again, if used in a room-temperature environment with zero airflow)
Adding airflow (such as from the propellers of your drone) will reduce these temperatures radically.
Mounting:
Mounting methods include (but are not limited to):
- Hot glue – If using the “Master”, “Follow”, or “Offset” strobe patterns, the SyncLight will stay cool enough to allow it to be mounted using hot glue without it melting. We cannot guarantee that a SyncLight running any other mode will not melt hot glue if you choose to use it as a mounting method.
- Machine screw – If a more robust mounting method is desired, removal of the heat shrink around the SyncLight will reveal a center hole which accommodates a screw size of #6-32.
- Mushroom Hook Velcro
- Zip Ties – If you’re mounting this to an arm of a drone, a simple zip tie around the center of the SyncLight will suffice.
See our product page for more information.
***Disclaimer***
This product flashes brightly and rapidly, please do not look directly at the light at close ranges. In no event shall our company be liable for any direct, indirect, punitive, incidental, special consequential damages, to property or life, whatsoever arising out of or connected with the use or misuse of our products.
Reviews
There are no reviews yet.